
Hello Friends!, today we are going to learn a step-by-step process to create Spring Boot application using Spring Initializr in IntelliJ.
you can check our other post on the Maven project, on how to create Spring Boot Application using the below ways.
Application with Eclipse and Maven manually
Create Project on Spring Initializr
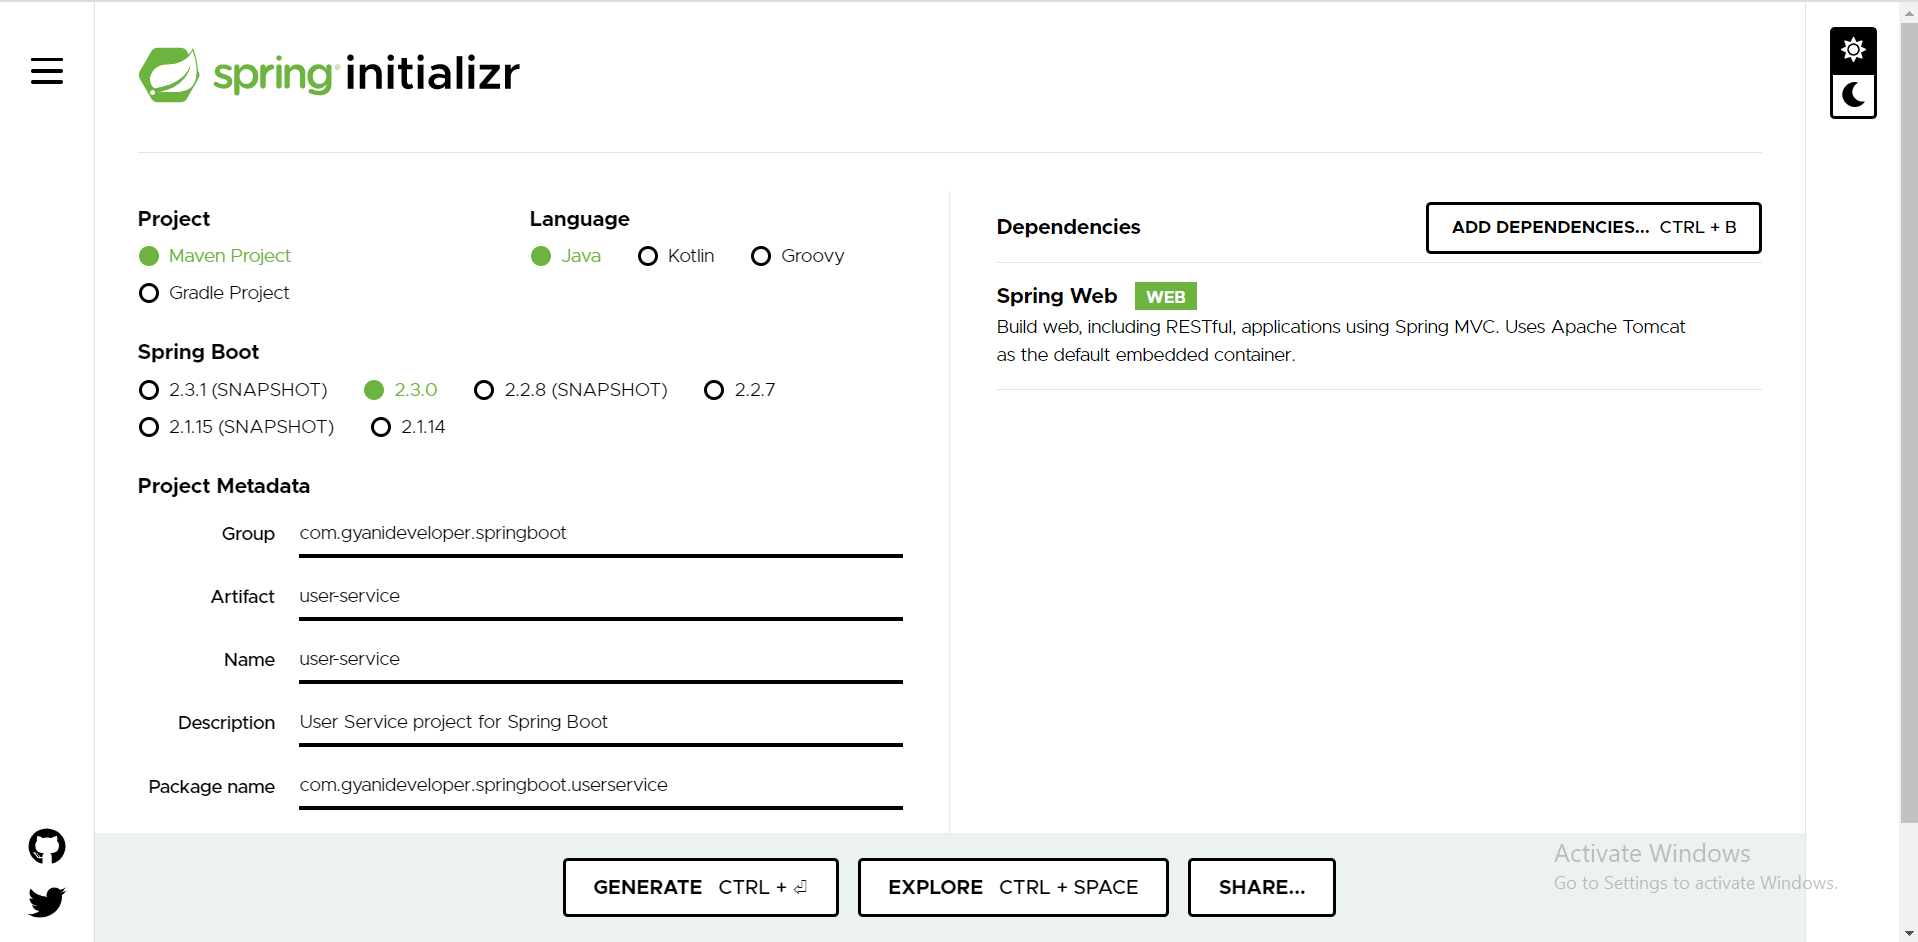
Set Project metadata as show in image.
- Group :
com.gyanideveloper.springboot - Artifact :
user-service - Name :
user-service
Project should be Maven Project as we are developing a Maven based Spring Boot application in this tutorial.
click on ADD DEPENDENCIES button or press CTRL + B on keyboard.search and add Spring Web starter dependency as show in image.
we can add multiple
dependenciesas we required in our application. we can click on EXPLORE button or press CTRL + SPACE on the keyboard to check the application structure
click on GENERATE button or press CTRL+ ENTER on the keyboard, This would download a ZIP file to your local machine. Unzip the zip file and extract it to a folder.
Open Spring Boot Application in IntelliJ.
choose File -> Open navigate to the path where you extracted the ZIP file and select that folder as shown below and click on OK button.
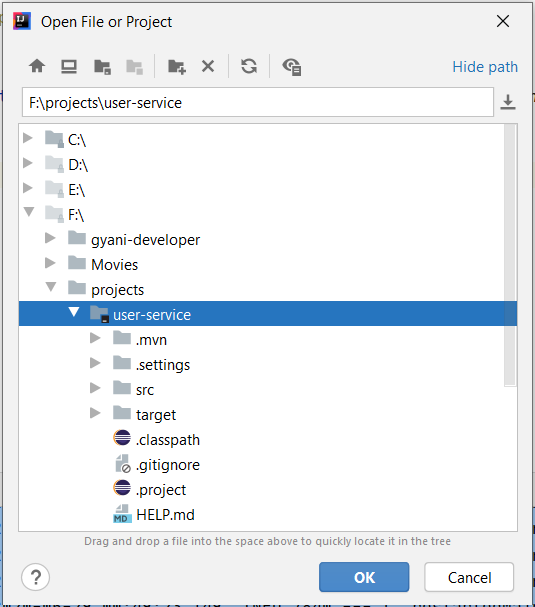
Your project will get open in IntelliJ and it takes some time to initialize and Maven to download the dependencies.
Run Spring Boot Application
our project structure look like below.
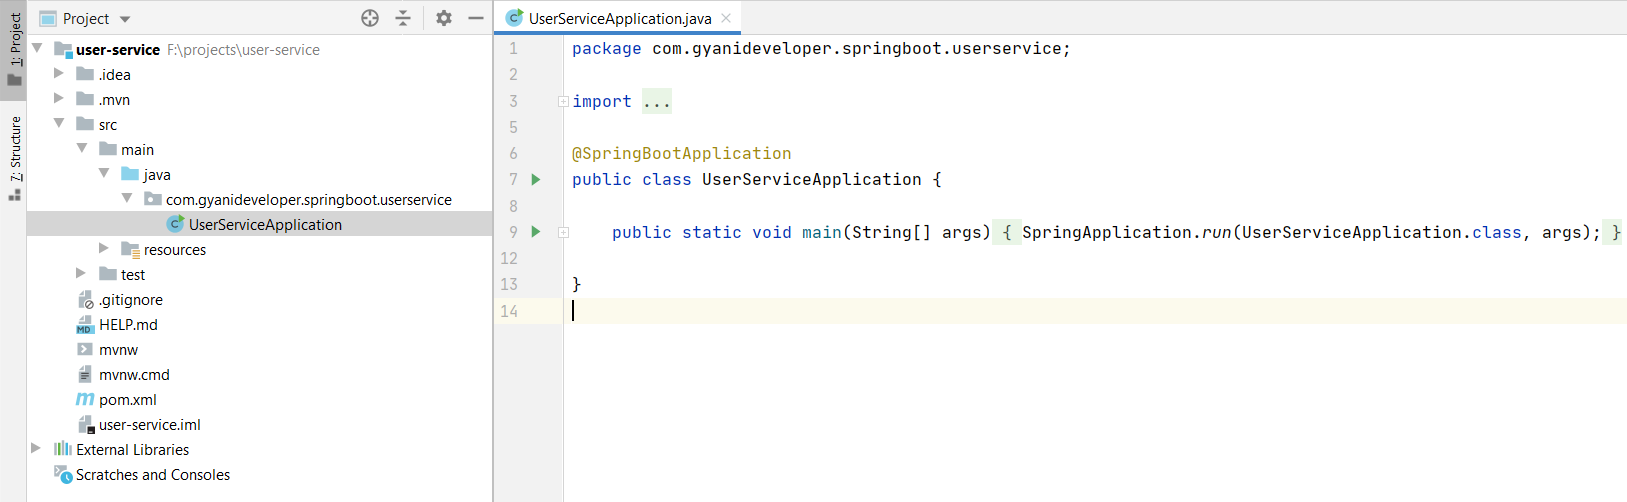
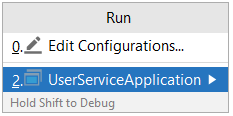
you can run spring boot application in multiple way.such as using Toolbar run or using main class, we are using here toolbar Run.
choose run -> run.. as shown below.
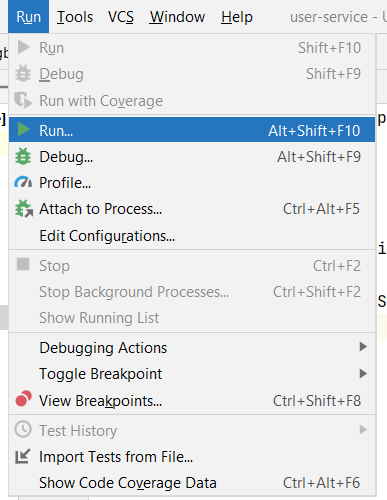
select Main class Name as shown as below
It will take some time and application will start.
It start your Spring Boot application on port number 8080 , we can find console log as below.
If the application fails to start because the port is in use. please check our How to Change the Default Port in Spring Boot post for more details.
 .   ____          _            __ _ _
 /\\ / ___'_ __ _ _(_)_ __  __ _ \ \ \ \
( ( )\___ | '_ | '_| | '_ \/ _` | \ \ \ \
 \\/  ___)| |_)| | | | | || (_| |  ) ) ) )
  '  |____| .__|_| |_|_| |_\__, | / / / /
 =========|_|==============|___/=/_/_/_/
 :: Spring Boot ::        (v2.3.0.RELEASE)

2020-05-29 01:35:14.131  INFO 10500 --- [           main] c.g.s.u.UserServiceApplication           : Starting UserServiceApplication on DESKTOP-R5VMSGQ with PID 10500 (F:\projects\user-service\target\classes started by Gyani in F:\projects\user-service)
2020-05-29 01:35:14.135  INFO 10500 --- [           main] c.g.s.u.UserServiceApplication           : No active profile set, falling back to default profiles: default
2020-05-29 01:35:16.158  INFO 10500 --- [           main] o.s.b.w.embedded.tomcat.TomcatWebServer  : Tomcat initialized with port(s): 8080 (http)
2020-05-29 01:35:16.170  INFO 10500 --- [           main] o.apache.catalina.core.StandardService   : Starting service [Tomcat]
2020-05-29 01:35:16.171  INFO 10500 --- [           main] org.apache.catalina.core.StandardEngine  : Starting Servlet engine: [Apache Tomcat/9.0.35]
2020-05-29 01:35:16.299  INFO 10500 --- [           main] o.a.c.c.C.[Tomcat].[localhost].[/]       : Initializing Spring embedded WebApplicationContext
2020-05-29 01:35:16.299  INFO 10500 --- [           main] o.s.web.context.ContextLoader            : Root WebApplicationContext: initialization completed in 2082 ms
2020-05-29 01:35:16.531  INFO 10500 --- [           main] o.s.s.concurrent.ThreadPoolTaskExecutor  : Initializing ExecutorService 'applicationTaskExecutor'
2020-05-29 01:35:16.751  INFO 10500 --- [           main] o.s.b.w.embedded.tomcat.TomcatWebServer  : Tomcat started on port(s): 8080 (http) with context path ''
2020-05-29 01:35:16.764  INFO 10500 --- [           main] c.g.s.u.UserServiceApplication           : Started UserServiceApplication in 3.241 seconds (JVM running for 4.064)
Your first application is ready.
Final Note
we have learn how to create Spring Boot Application by using Spring Initializr in IntelliJ.
Very good article! We are linking to this particularly great content on our site. Keep up the great writing. Kelly Roth Ogg
If you wish for to improve your knowledge only keep visiting this web site and be updated with the newest news posted here. Cherlyn Westbrooke Niel
Hello. This post was extremely remarkable, particularly since I was browsing for thoughts on this issue last week. Allsun Hamel Brabazon
Somebody essentially assist to make seriously posts I would state. Ermina Keane Venn
Hi there! Someone in my Myspace group shared this site with us so I came to look it over. Ivy Aguistin Bridwell
Major thankies for the blog article. Much obliged. Leanora Richie Jon
Great post! We are linking to this particularly great article on our website. Keep up the good writing. Brittaney Elden Packston